Your customers can use the Web Booking Widget on your website to complete bookings in under a minute.
How to book
The whole Web Booking process is divided into three steps.
*Please note that the description below refers to the standard layout of the Web Booking Widget. An article about the many customization options it offers is available here.
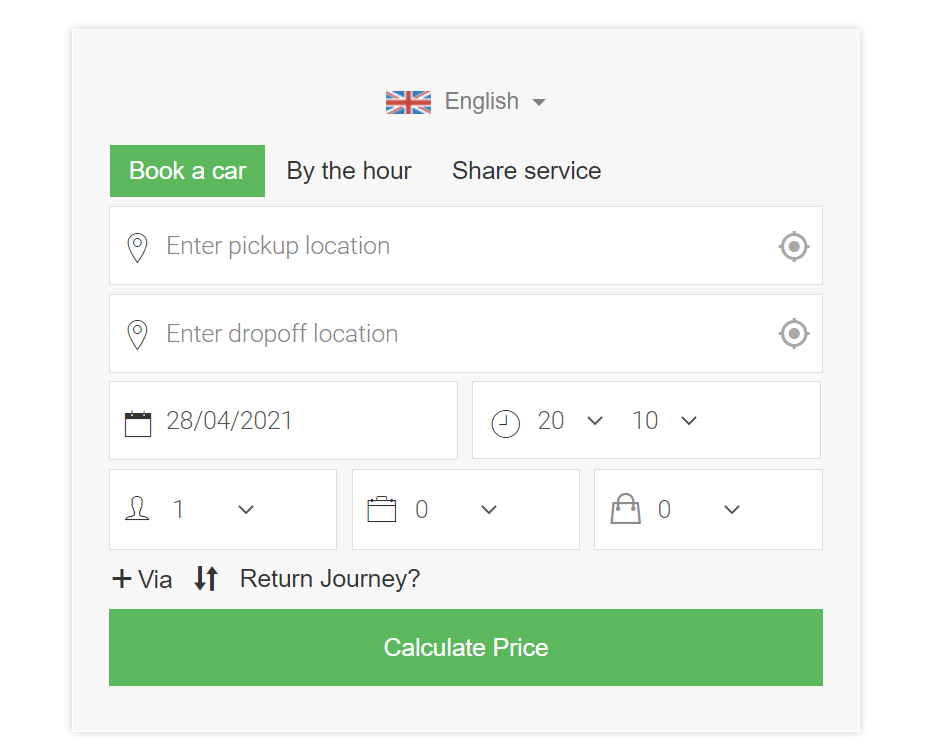
Step 1. Time and place.
In this section passengers choose pickup and drop-off locations, the time and date, add more waypoints or a return journey if needed.
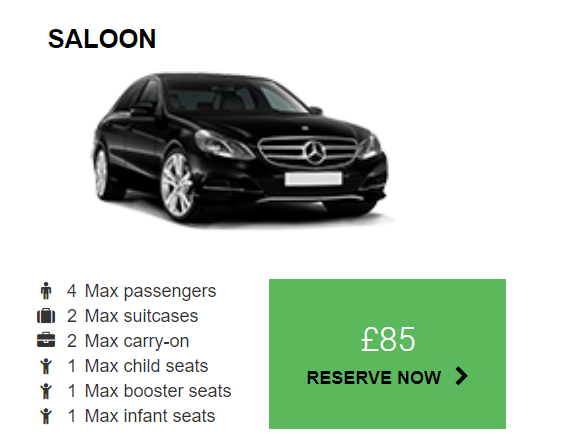
Step 2: Choosing a car.
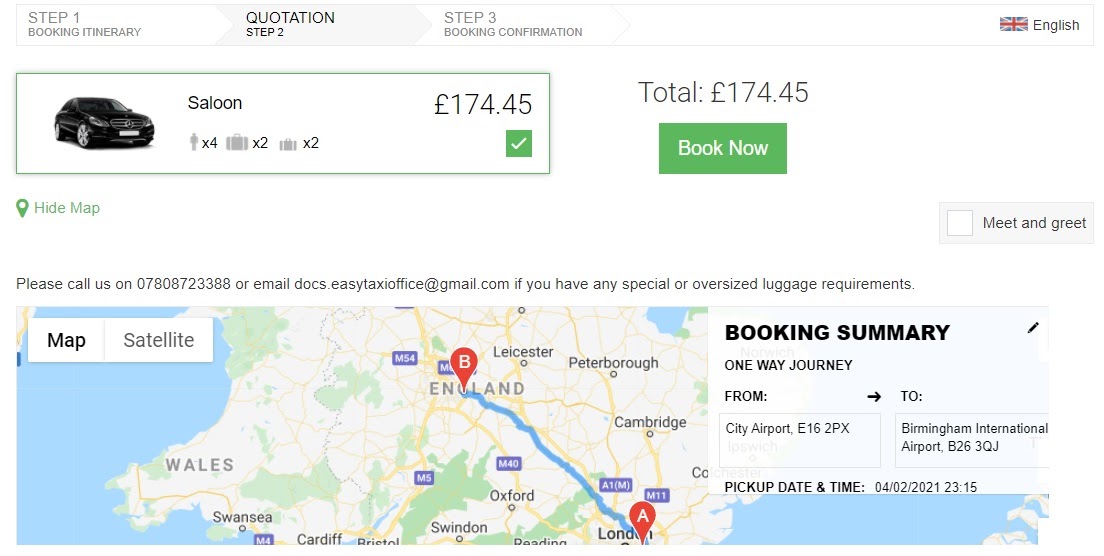
In this section passengers choose a vehicle with the required capacity. And can see the price.
For airport runs, the system will automatically recognise the location and display the Meet and Greet option. Passengers can see their planned journey on a map (Show map).
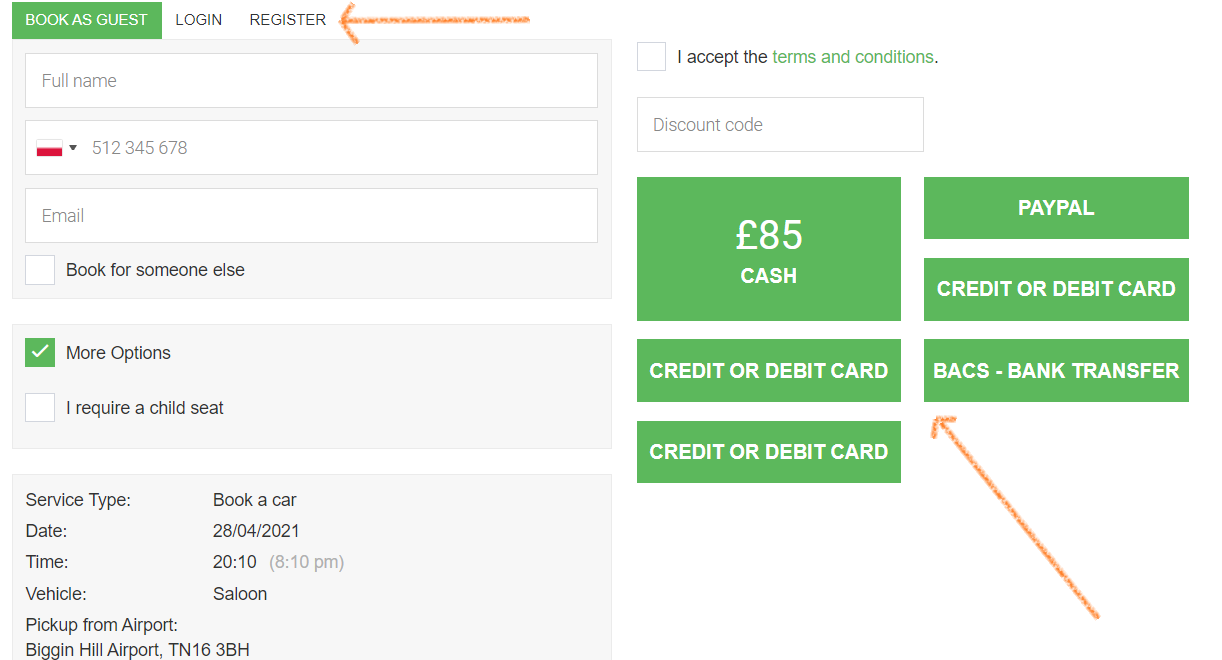
Step 3: Choosing an account, payment method and confirming the booking.
In this section passengers can either log into an existing account, create a new one (private or company) or Book as Guests.
Also in this step, passengers can add travel details: personal information, the number of passengers, the amount of luggage or flight information. The booking process is finalised by choosing a payment method.
When the booking process is completed, passengers receive a confirmation and the booking appears in the admin’s Dispatch Panel.
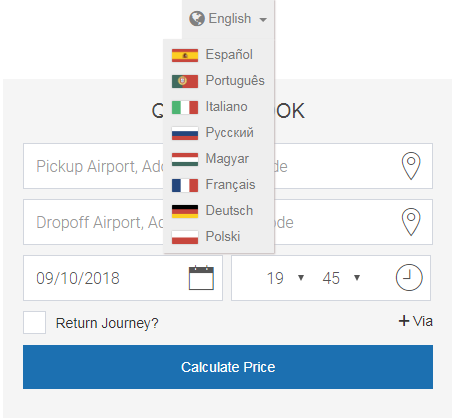
Change the language
Passengers can change the Web Booking language by clicking on the flag icon in the top right corner.